
Adapt the images to my tree
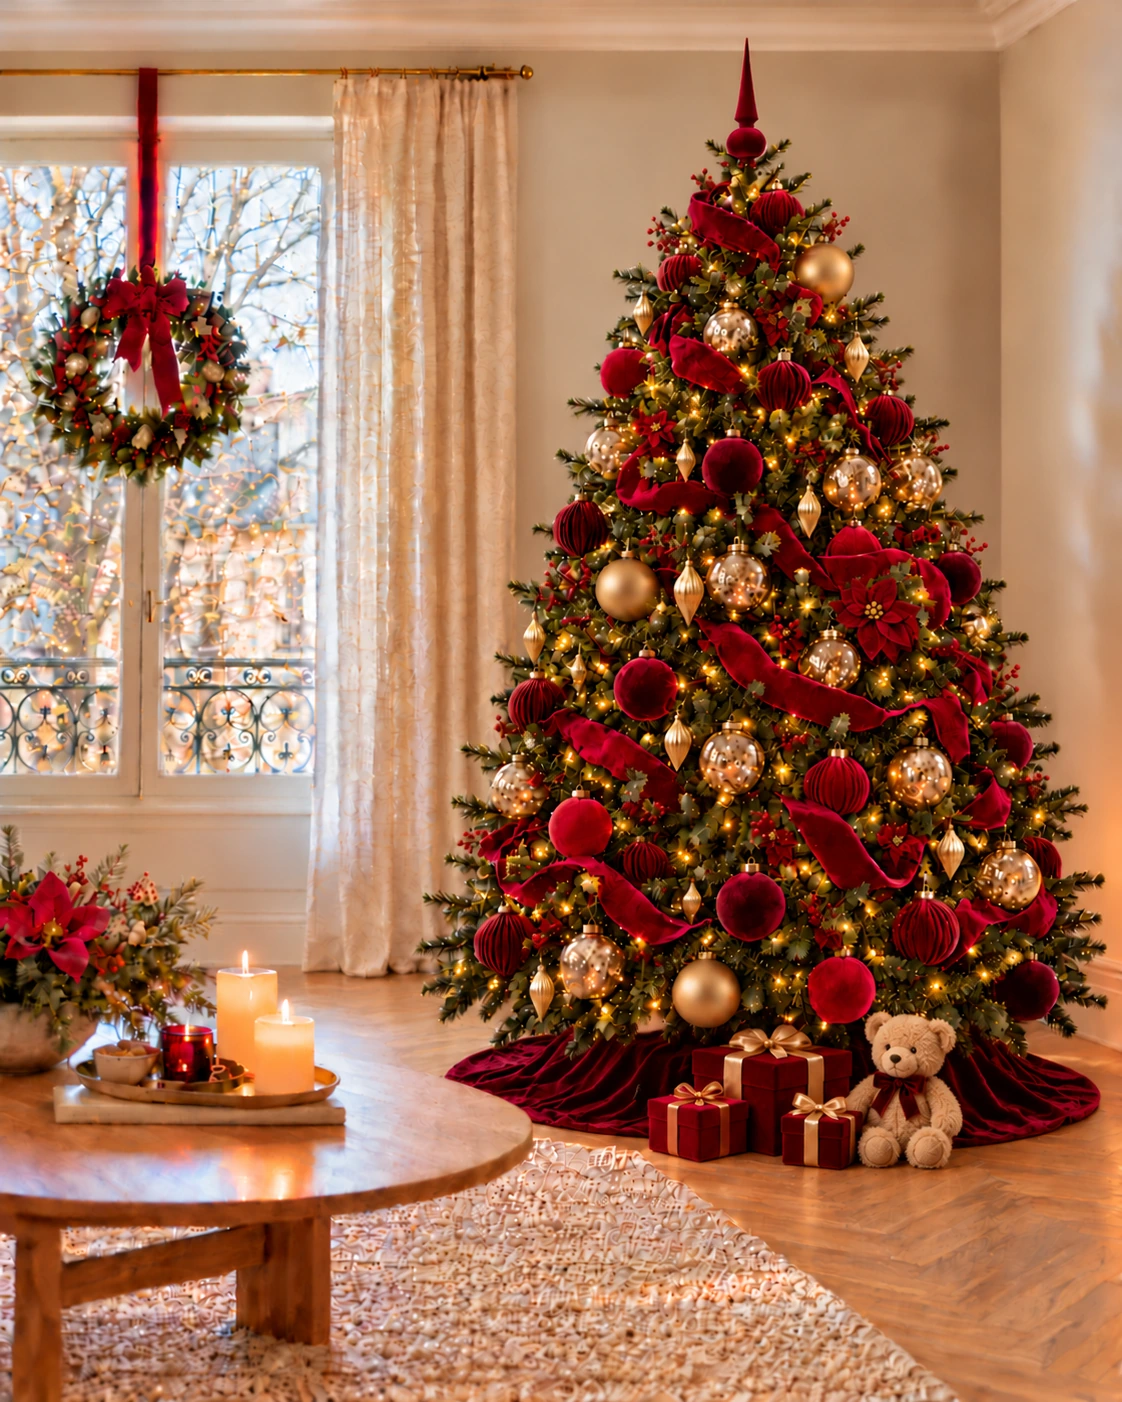
A beautiful Christmas tree takes shape step by step: first the branches, then the lights and decorations. This guide shows you how to arrange the ornaments you already love. The illustrations let you compare five decorating styles on the same tree.
In what order should you decorate a tree? Fluff the branches, add the lights, then arrange any ribbons. Hang the large baubles and smaller ornaments. Add tinsel next, followed by the tree topper and the base decorations. This order makes decorating easier. If your topper needs a special fixing, prepare it before hanging fragile ornaments.
Let me be guided: open the workshop step by step
The decoration workshop
Prepare your Christmas tree
Find your choices from the top of the page, then adjust the lights, ribbons and finishes through the seven steps.
Scenarios created by AI. The illustrated tree serves as a demonstration; it does not replicate your own tree. The Twinkly animation illustrates the snowfall effect, in warm white or cool white, as desired.
Before you start, open your decoration boxes
Sort your ornaments by colour, material and size. Set damaged pieces aside and pick out your favourites: a bauble received as a gift, a souvenir from a trip or a decoration made together as a family. These can inspire the rest of your tree.
Then choose a dominant color, a second to accompany it and a few accents. This reference helps to compose; it doesn't require you to put away all the other colors. A common ribbon or finish is sometimes enough to connect very different ornaments. To plan ahead, explore the five decorative atmospheres for Christmas 2026 : Red Velvet, Natural Forest, Frosted White, Traditional Christmas and Chocolate & Copper.
Adaptez le fil conducteur à votre sapin et à votre ambiance avec les choix en haut de la page. Les vues d’ensemble suivent vos choix ; les gros plans bordeaux montrent les gestes de référence.
Locate the place of the tree from the sofa and the entrance to the room. Leave enough space to move around and to deploy the lower branches. If you are still looking for your tree, the selection of artificial trees helps to compare silhouettes; check the height and especially the width in your room. If you already have your tree, move on to preparing it.
1. Prepare the tree and spread the branches
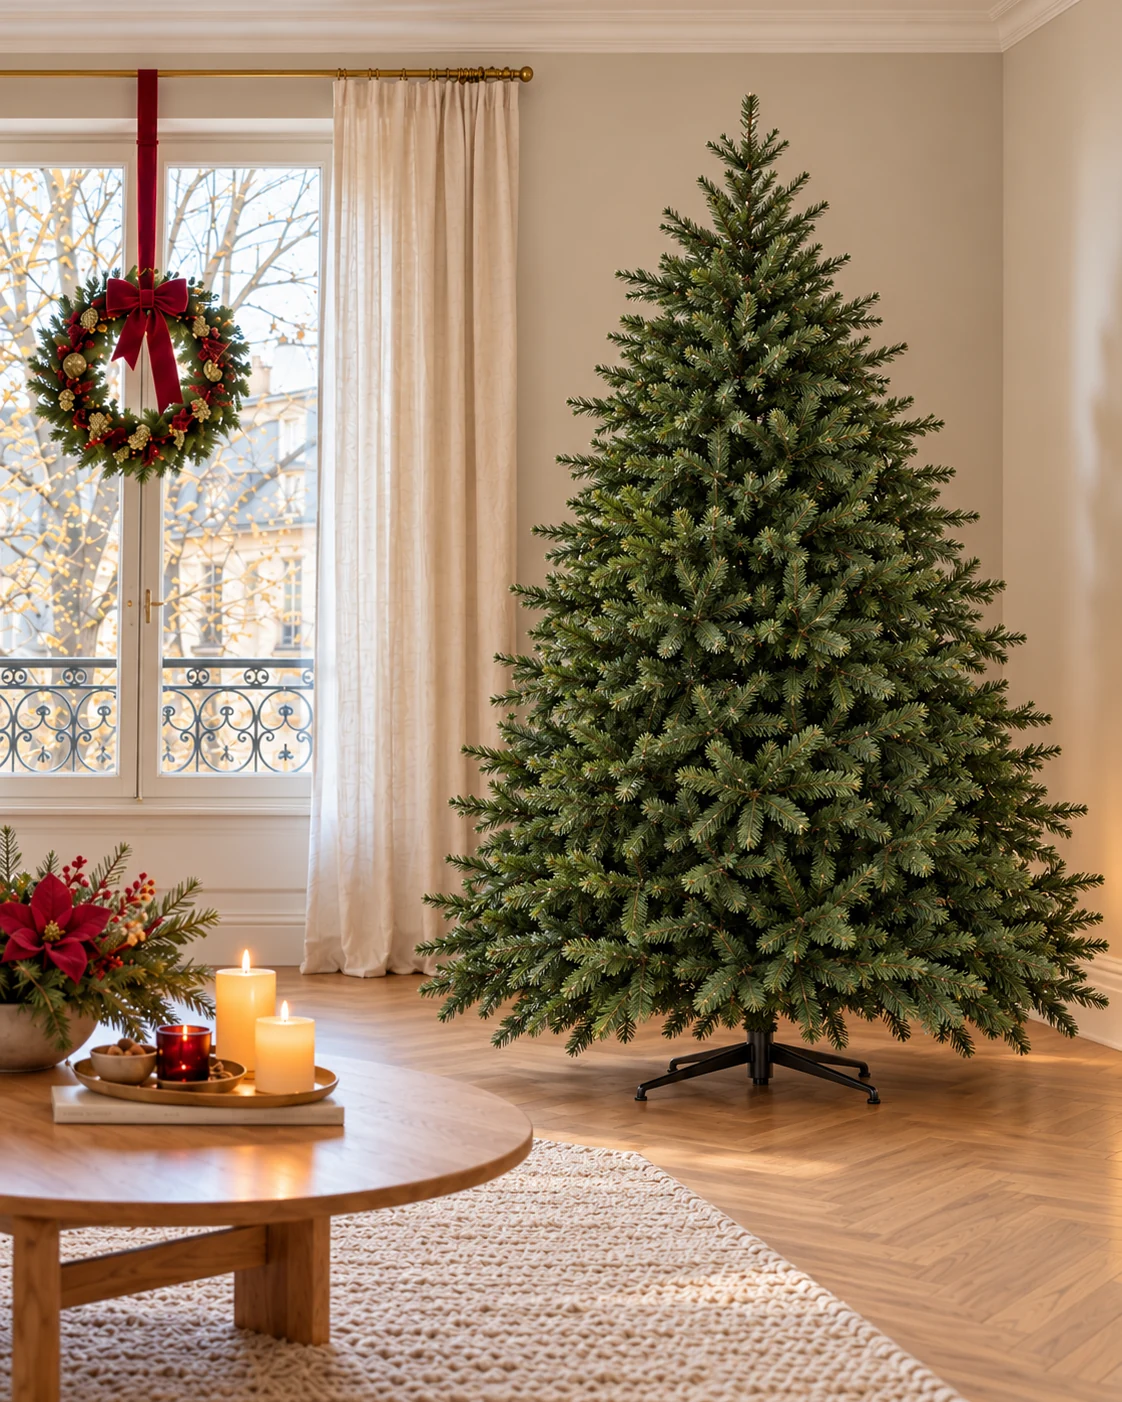
Install the support on stable ground, then assemble the tree according to its instructions. For an artificial tree, open the branches gradually, starting with the lower levels. Spread their ends in several directions rather than flattening them on a single plane. The interior of the foliage matters as much as the visible outline.
Observe the silhouette and open the still folded branches. Turn the tree slightly to present its most harmonious side, without trying to make a naturally light tree compact. Keep the lower branches full. To see how the needles and branches give relief to the silhouette, look the foliage of the Pure Living fir tree up close.
For a natural tree, respect its shape and the instructions for its support. In both cases, plan now for the passage of the power cable and access to the control. Once the tree is decorated, these details become much less easy to repeat.
Before continuing: the tree stands correctly, the branches are spread and its volume suits the location. The decorations will enrich this base, rather than masking an unfinished assembly.
2. Distribute the lights before the ornaments
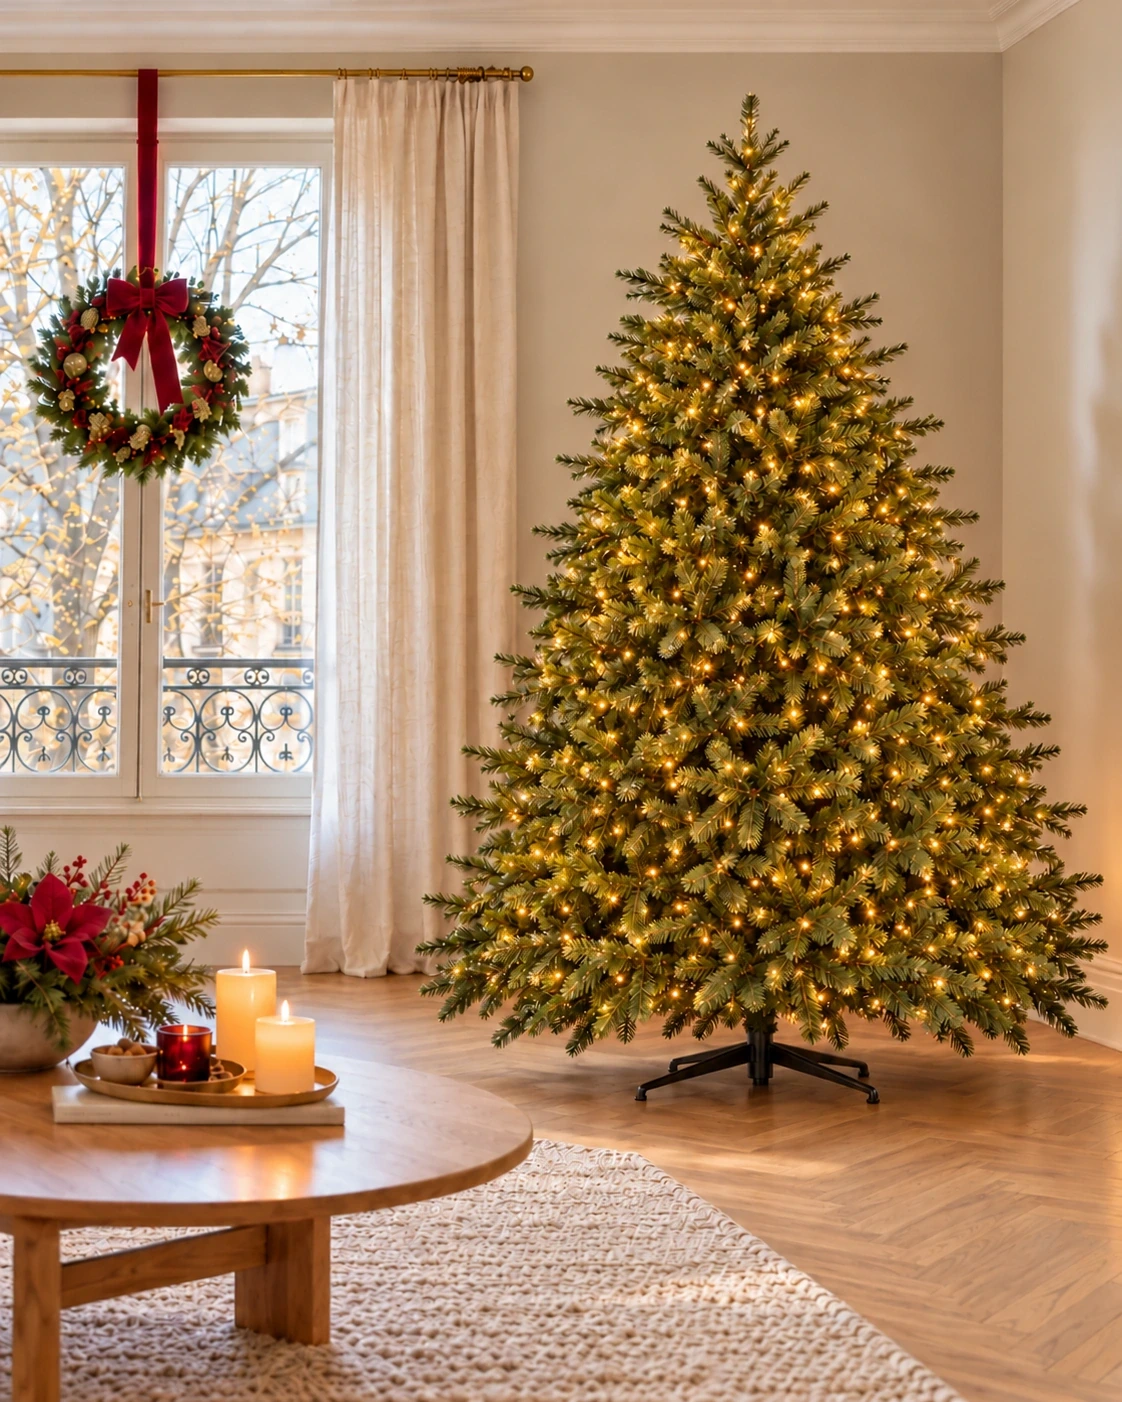
Check the operation of the garland before hanging it. Then install it according to its instructions, before the ribbons, decorative garlands and balls. Warm white brings golden highlights; cool white gives a more icy glow. Choose this fixed light first, then optionally add Twinkly. For a pre-lit tree, check at this stage the different zones and the connections provided by the manufacturer.
Distribute the light points between the heart of the tree and the edge of the branches. Lighting placed only on the contour leaves the interior dark. Avoid clumps and check the distribution before adding a second garland.
Observe the result from your usual place, then dim the lighting in the living room. Correct large dark areas and too bright spots before installing the ornaments.
Twinkly can complement the fixed garland with an animated effect. In this preview, the “snowfall” wave descends on the LEDs; its color, warm or cold, is chosen independently of the fixed light. Find the gestures in the installation guide Twinkly or try the effects in the simulator. The animation illustrates the rendering without exactly reproducing the material.
Before continuing: the light points are distributed in height and depth, without any area that attracts all the attention.
3. Draw the ribbons before the balls
Now place the ribbons that structure the composition, or choose “Without ribbon”. The tinsel garland will come in step 6: you can keep the ribbons alone, the garland alone, both or neither.
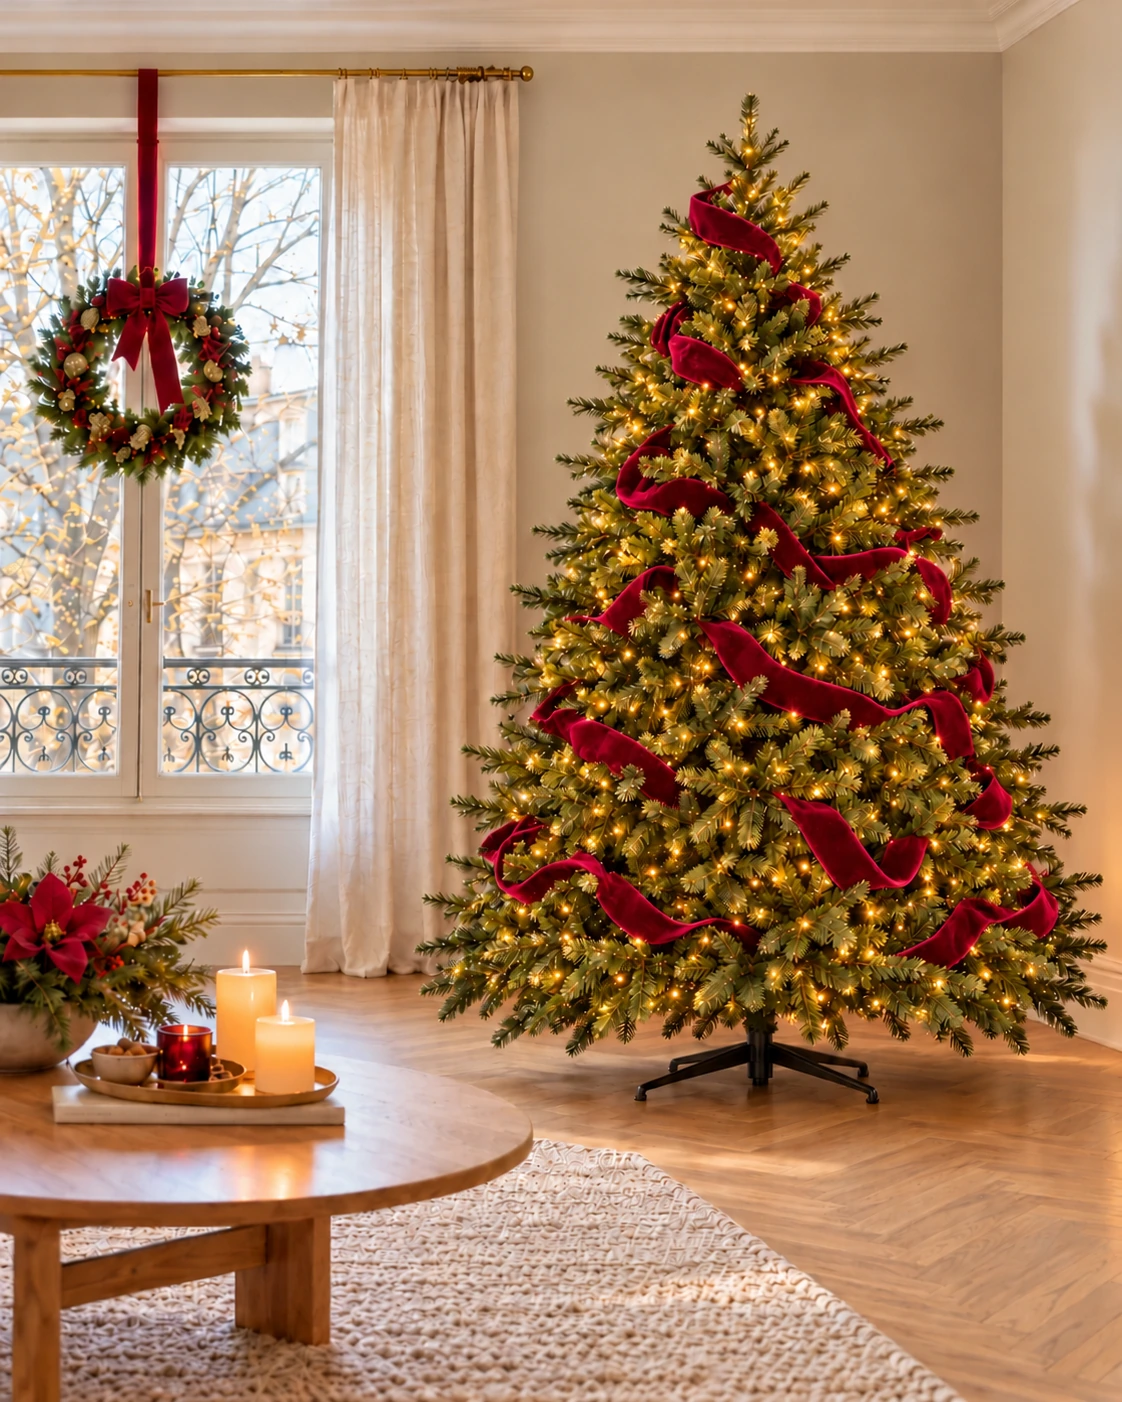
Choose the movement of the ribbon: soft, diagonal descents or segments that seem to extend into the foliage. In the red velvet atmosphere, burgundy adds substance; no need to cover all the branches.
Attach one end to an interior branch, form a generous loop, then bring the ribbon back to another attachment point. The fabric should go into the foliage and then come out again. Release the tension a little if its surface becomes flat. With a reinforced edge, gently shape the fold; with a flexible ribbon, accompany its natural fall.
Distribute these movements over several heights and keep openings for large baubles. Before cutting, test with the length you have. A few well-placed segments can give a lighter result than a complete turn on each floor.
The same gesture is suitable for a tartan ribbon for a traditional Christmas or a natural fabric for a forest atmosphere. Small individual bows can wait for the finishing stage.
Before continuing: the ties are discreet, the ribbon retains its volume and its lines leave room for ornaments.
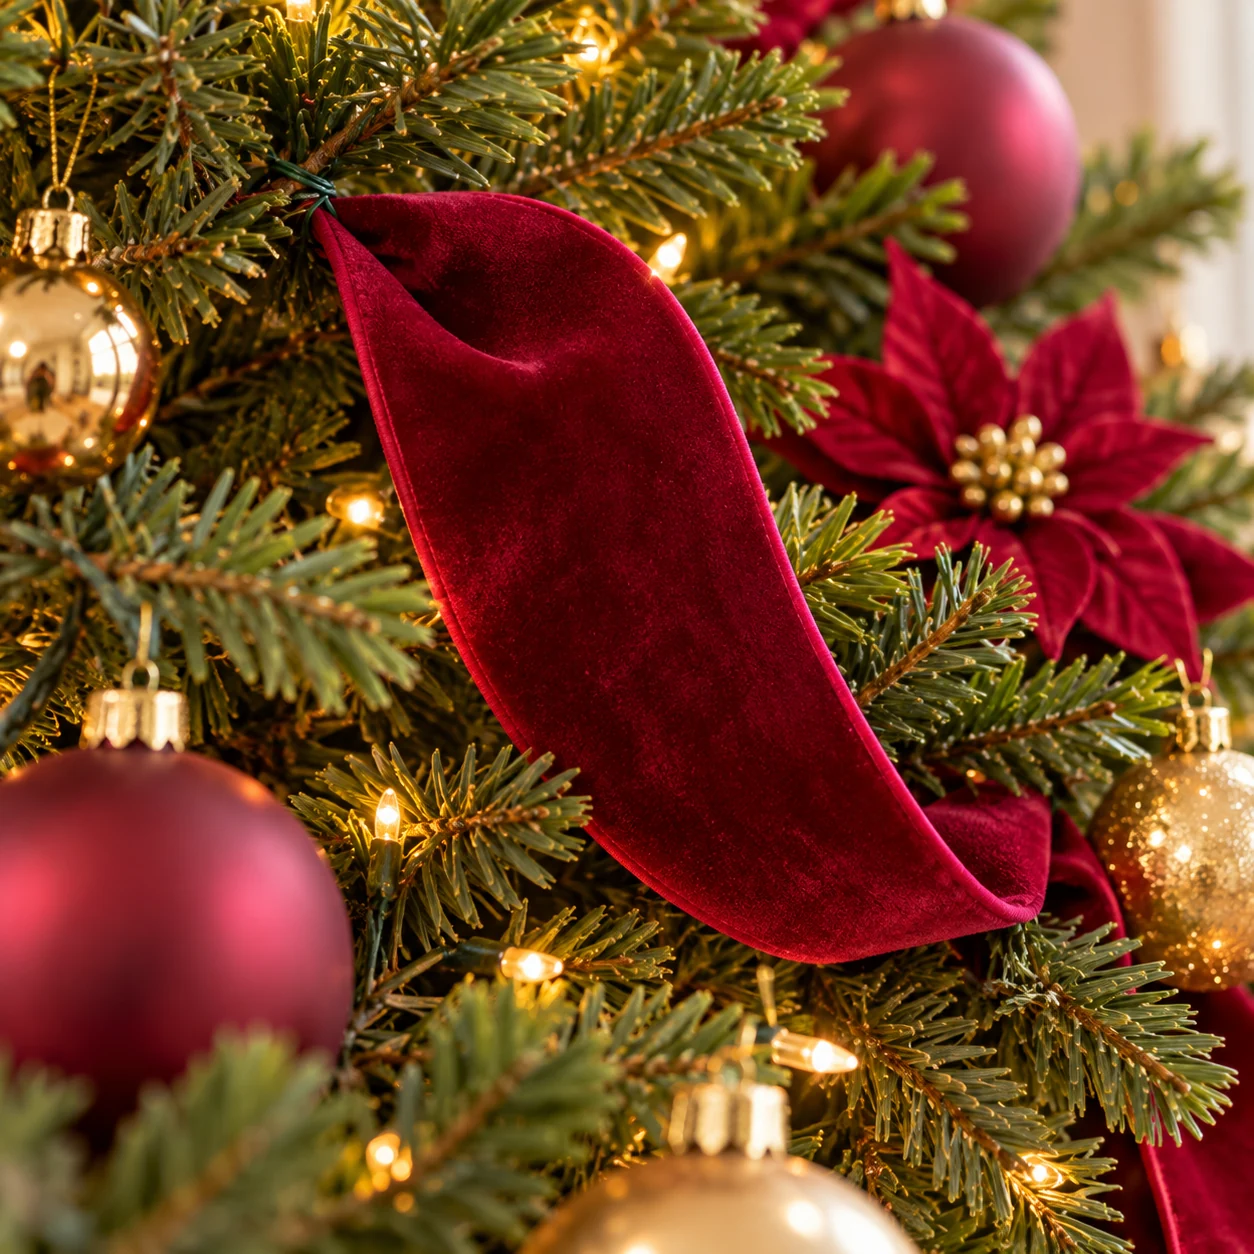
The ribbon enters the branches then forms a loop. The green attachment is hidden in the foliage; the fabric maintains volume between two attachment points.
Burgundy velvet is my favorite for Christmas 2026. I like to combine it with aged gold.
See the article on velvet4. Distribute the large baubles at several depths
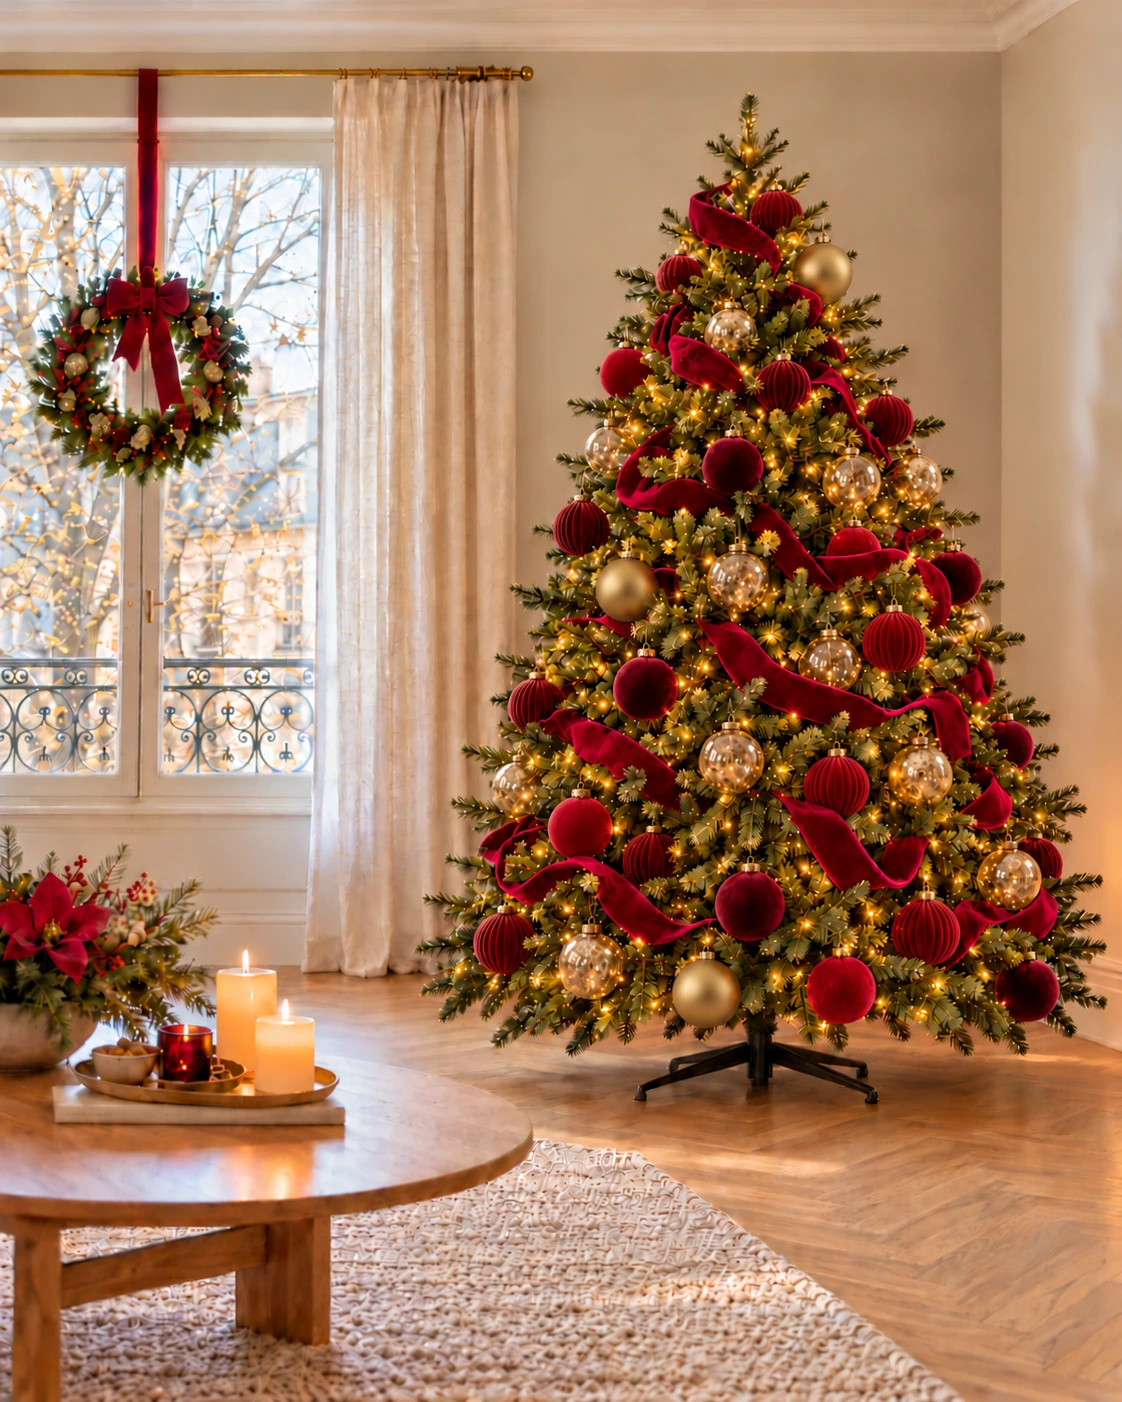
First place a few large baubles at different heights. Repeat a color from top to bottom, staggering the locations to avoid a too regular column.
Choose branches capable of carrying each object. Place some balls slightly inside to give depth; leave the most detailed ones a little more visible. Check that they hang freely and that their clip does not slip towards the end. A branch that drops significantly requires a lighter piece or another location.
Vary the finishes. Matte provides a calm surface; the gloss and the glass catch the light points. In the red and gold palette, distribute the gold highlights around the burgundy instead of concentrating them on one side. The gaze must be able to move from the top to the lower branches.
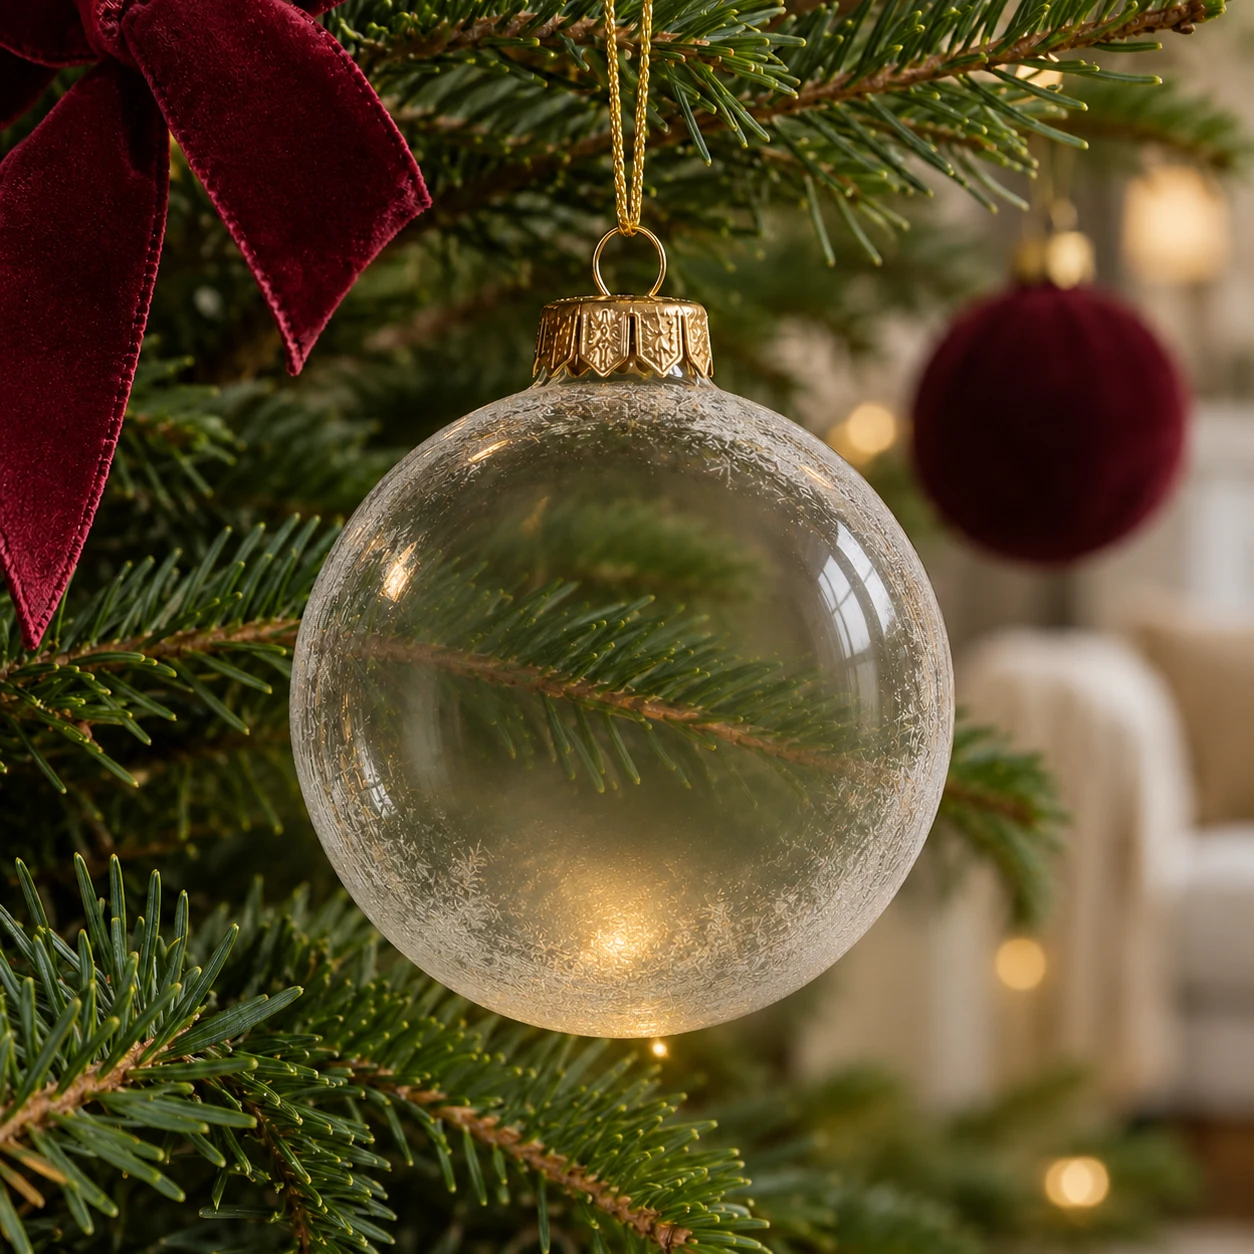
I like to place an LED just behind or under a clear glass bauble. The light passes through the glass, reveals its reflections and highlights the decoration.
Move the LED or the ball slightly to find the prettiest effect from your place in the living room.
The quantity depends on the width of the tree, its density and the space occupied by the ribbons. Add gradually rather than trying to use all your baubles.
Before continuing: no area seems to carry all the color or visual weight of the tree.
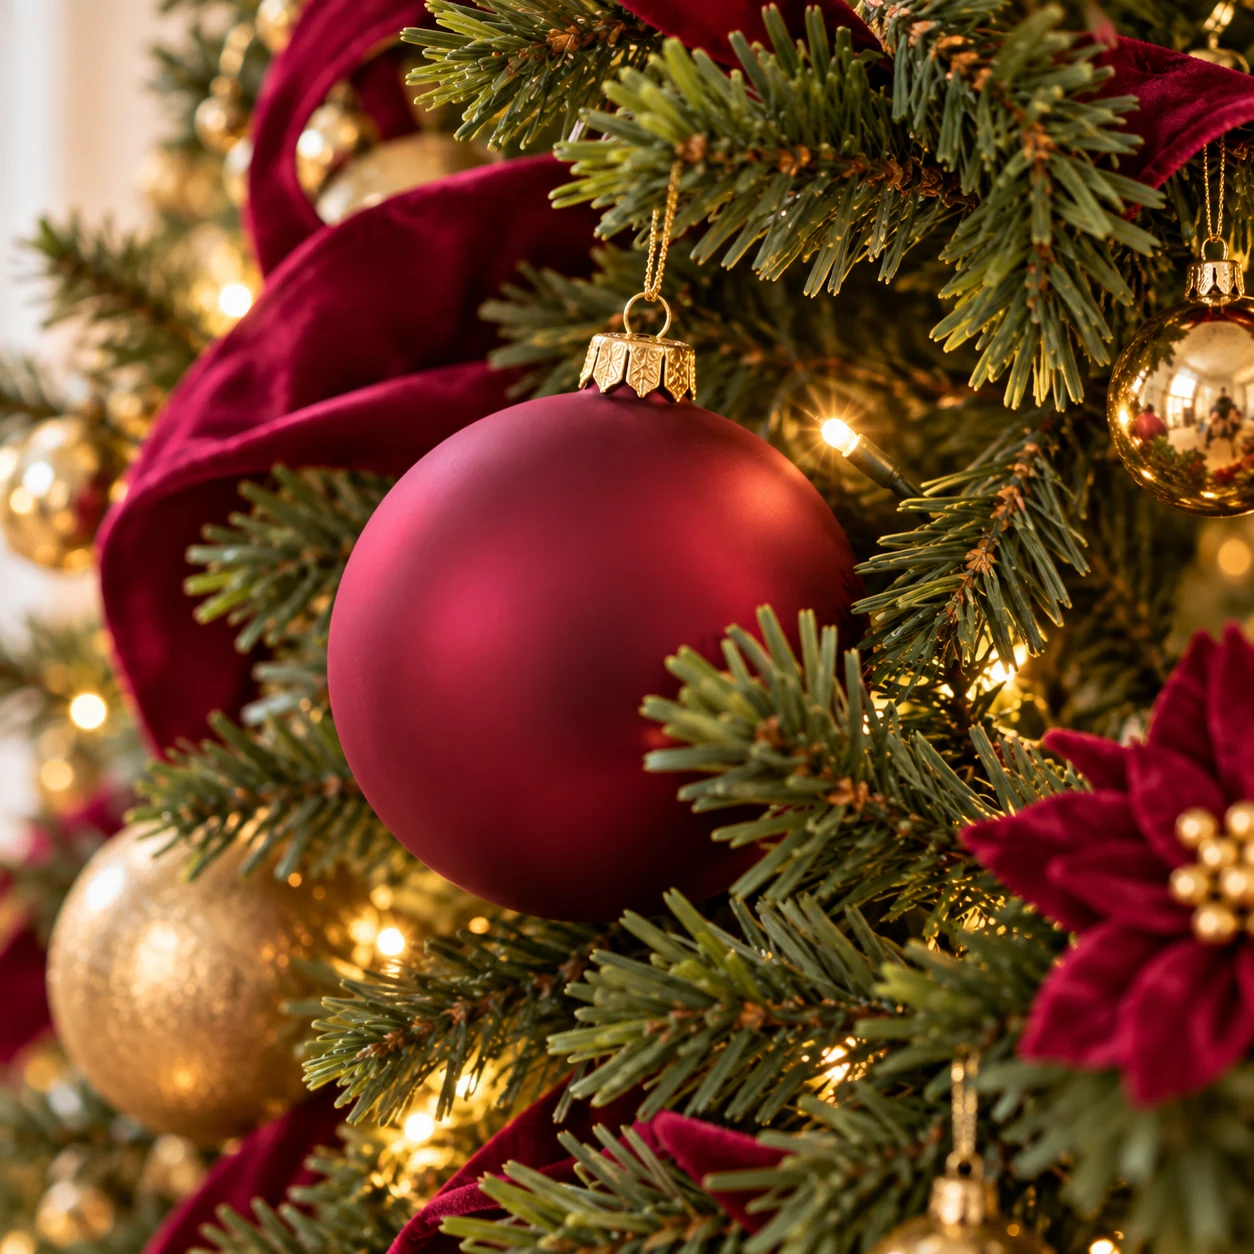
A few needles pass in front of the burgundy bauble. Its attachment joins a branch capable of carrying it, while the ornament remains free to hang.
5. Add small decorations and your favorite pieces
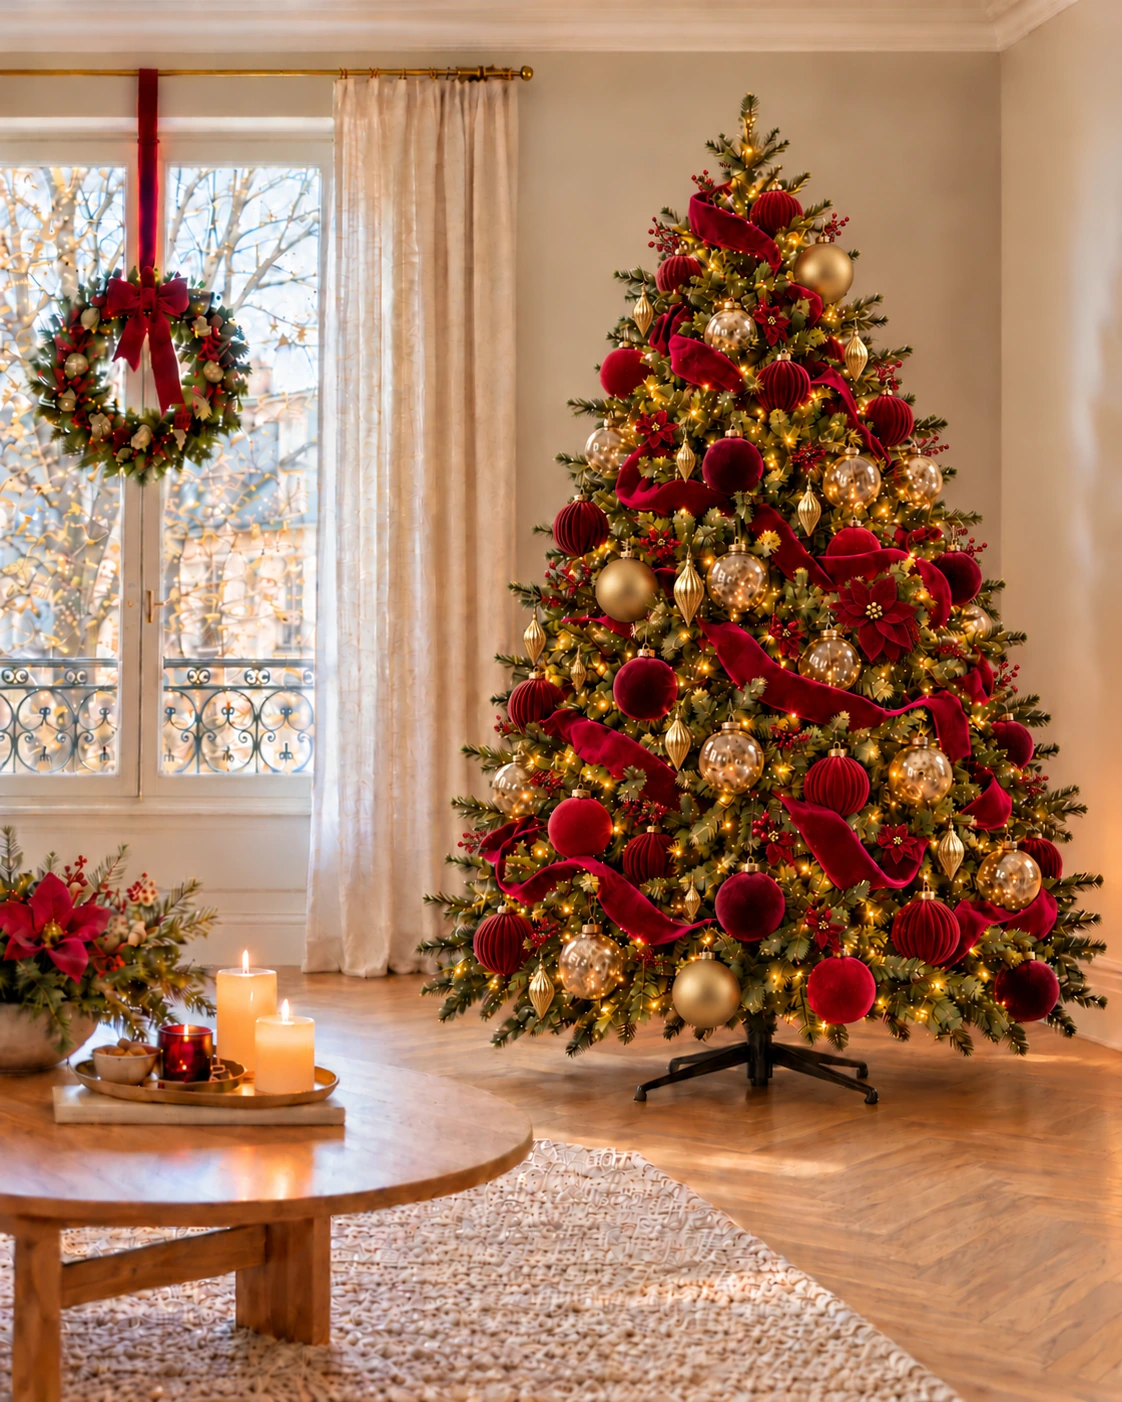
Now complete the intervals with the chosen small baubles, pendant lights and accents. Alternate sizes and materials. In the red velvet example, a few flowers and small bows extend the ribbons; in a natural forest, paper stars and wood create lighter details.
Reserve a visible place for personal decorations. I show you mine in a visit to my Christmas world. A mismatched piece easily finds its place near a ball that takes on its color. Clear its contours by moving a neighboring ornament rather than adding decoration.
Also check the fasteners and depth. Some subjects can partially pass behind the needles, others must remain fully visible. If you are using a very bulky flower that organizes all the decoration, place it earlier, with the main pieces, then distribute the small suspensions around it.
My advice: don't try to fill every branch. For me, the charm of a tree also lies in the little memories that we enjoy finding. Give them some space, even if they don't match perfectly with the rest of the decor.
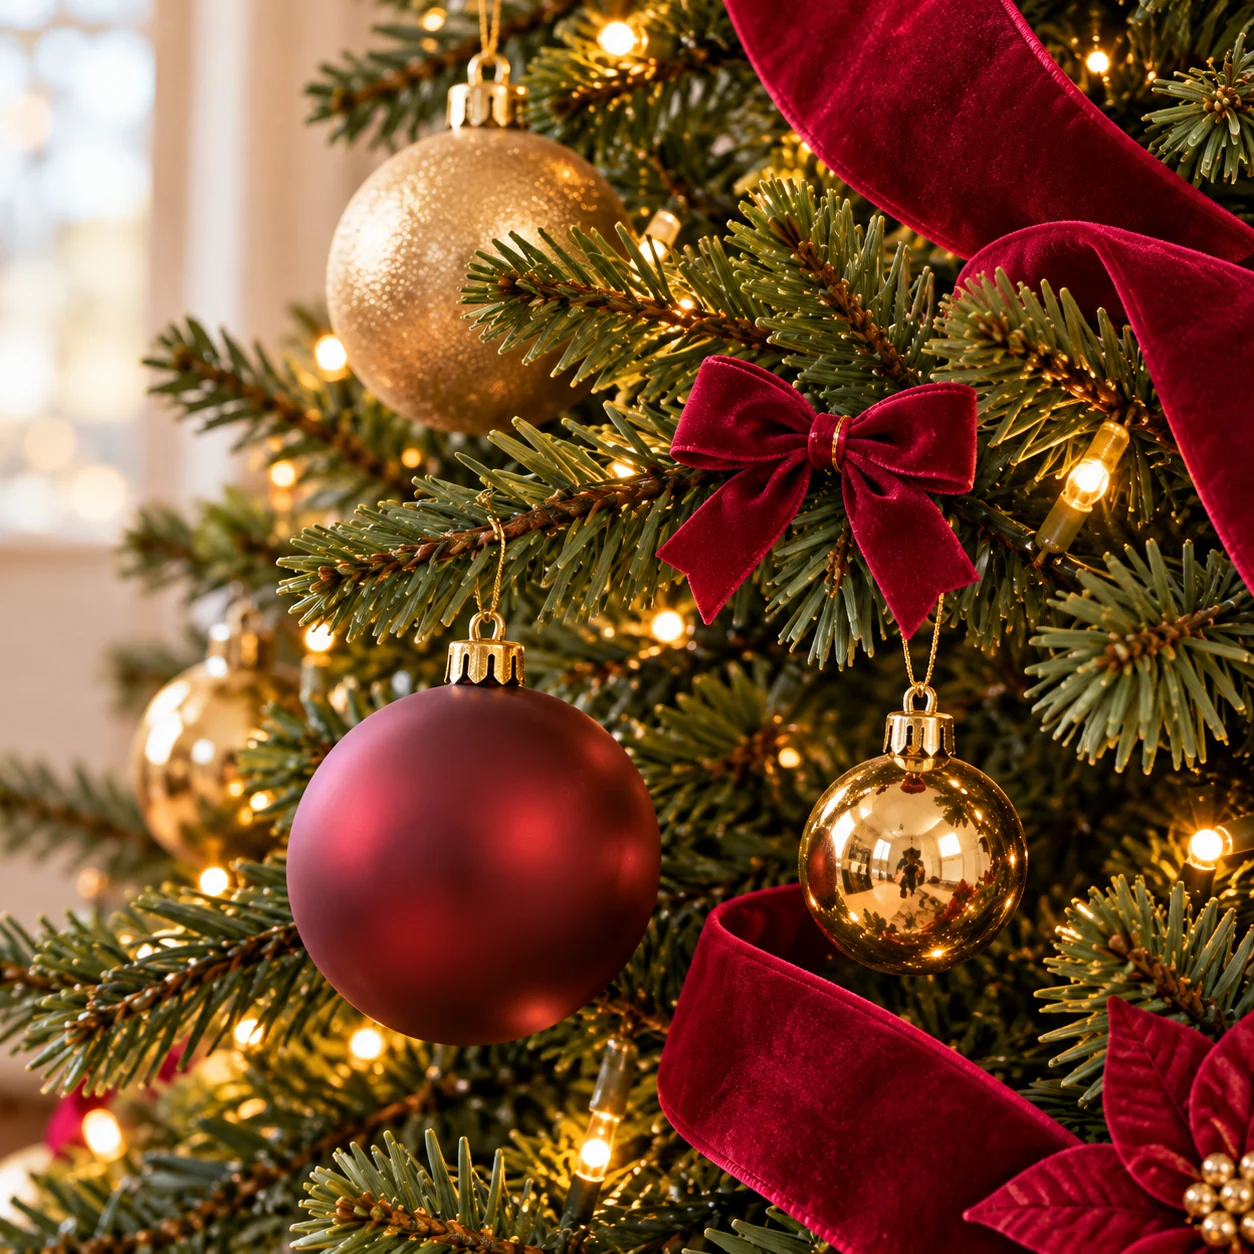
A small velvet bow, a matte ball and a golden reflection stand out thanks to their textures and the spaces left between them.
6. Finish with the tinsel garland and topper
Place the tinsel garland after the small decorations
The tinsel garland here is a decoration with metallic fringes, without lighting. It is placed after the small ornaments and can accompany the ribbons already installed. If you choose “No Garland,” skip to the top.
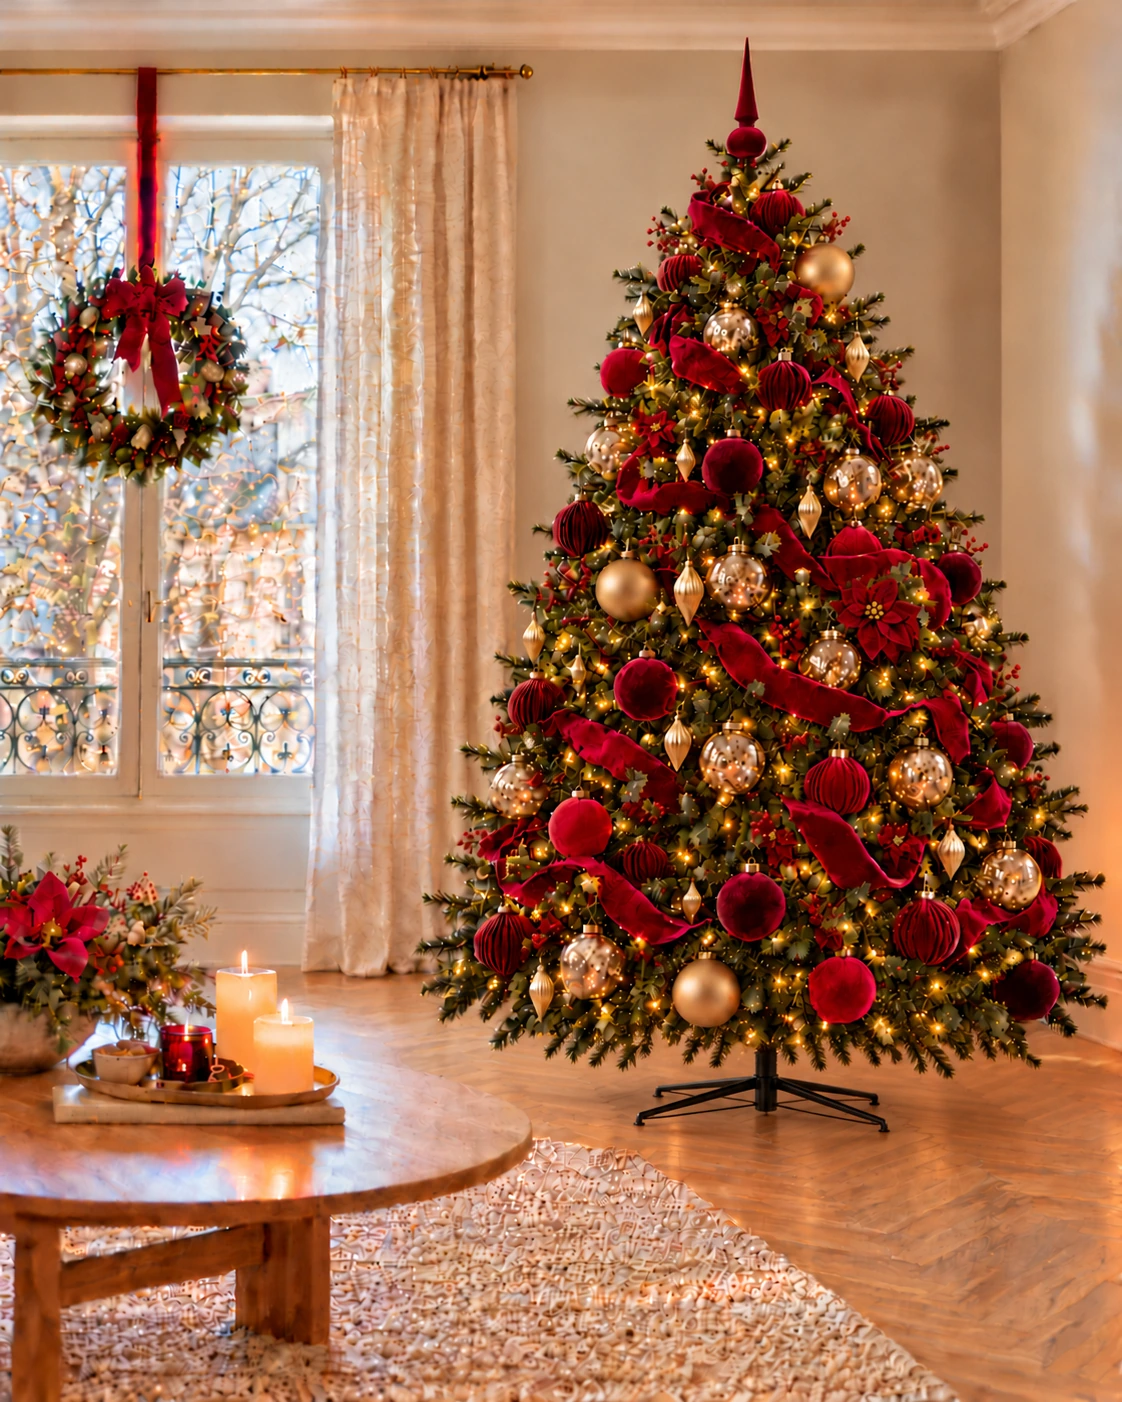
Start from the top and place the garland in soft festoons on the branches, without pulling it through the ties. Adjust the curves to a few support points. Avoid tight wraps that hide foliage and balls.
A fine golden garland accompanies the traditional reds and greens; a silver joins the glass and the ice blue. Champagne and copper can pick up the reflections on your baubles. Keep space between passes and reuse what you have first. If the garland is very extensive, a few festoons spaced out are enough to give it a place in the composition.
Installing a summit at the right scale
A star, a spike, a large bow or a bouquet can finish off the tree. Take a color or material from the decor and adapt the size to the silhouette, taking into account the ceiling.
Follow the instructions for attaching the part. If it is heavy, requires special assembly or becomes difficult to access, install it before fragile ornaments. In the illustrated path, the summit appears at this stage to show its effect on the whole; adapt the practical order to your material.
Check that the top remains straight and does not bend the branch carrying it.
Before continuing: the top is stable, well oriented and connected to the rest of the decor by its color or material.
7. Finish the stand and look at the tree during the day and evening
The foot can remain visible if it participates in the decoration. The Pure Living fir tree and its wooden base provide an example. With a more discreet support, a foot cover or a fabric placed without disturbing the stability can extend the materials of the tree. Keep items that require inspection or maintenance accessible.
If you add gifts, spread them out so that the lower branches can be read. Their paper can take on a color from the decor, but the whole thing does not need to be perfectly matched. Check that the foot does not create a mass heavier than the tree itself.
Look at the result during the day and in the evening. Do dark balls and your favorite pendant lights remain visible? Does glass create annoying reflections? A few moves are often enough to balance the decor.
Before you stop: the colors respond to each other, the top and bottom balance, and the decor retains its charm from your usual place.
Some easy-to-correct imbalances
- A color concentrated in a corner: move two or three ornaments to create reminders elsewhere, then watch from a distance.
- Flat ribbons: bring an attachment point closer to the inside of the foliage and restore volume to the curl.
- A garland that hides the branches: space out its passages and release the festoons; the balls must be able to be distinguished around.
- All balls on the surface: back a few pieces into the branches and vary the heights.
- A beautiful ornament that has become invisible: clear some space around it rather than adding new decoration.
- A fir tree difficult to read in the evening: look at the shadows and highlights, then go back to the light distribution before changing the entire palette.
Your questions for decorating the tree
Should we install the lights before the balls?
Yes, this is the most practical order for distributing the light points without moving the pendant lights. Check the garland before hanging and observe its light before covering the branches with ornaments.
When to install ribbons, tinsel garlands and bows?
Place the large ribbons after the lights and before the balls to form the folds without moving the suspensions. In the method presented here, the tinsel garland is placed at the end, after the balls and small decorations, placing it gently on the branches. Small knots can join the finishes. A difficult-to-fix top knot can be prepared earlier.
How to give relief to a sparse tree?
Start by opening the branches, then distribute the ornaments at different depths. A few loops of ribbon can take up space, but keep the tree's clean silhouette and avoid crowding the thinner branches.
How to keep old decorations in a new palette?
Spot a common detail: a touch of gold, a red, a natural material. Repeat it nearby with a few pieces you already own. Memories can remain visible, even if they do not follow the entire palette.
Is it necessary to hide the foot?
No. A decorative support may remain visible. If you dress it, choose a volume suitable for the bottom of the tree and maintain the necessary access for its maintenance or its controls.
How to adapt these steps to a small tree?
Keep the same order, reducing the size and number of pieces. A few well-spaced ornaments, a light ribbon or a thin tinsel garland and a proportionate top allow the foliage to be read better than an accumulation of large decorations. If floor space is limited, here is an example of a narrow tree in my selection.
Your tree can bring together a palette chosen this year and the objects that you have been bringing out for a long time. Take the time to look at what each addition changes: the light gives depth, the ribbons or tinsel garlands outline the movements and the memories give the decor its character.
To continue the visit
These articles might also interest you
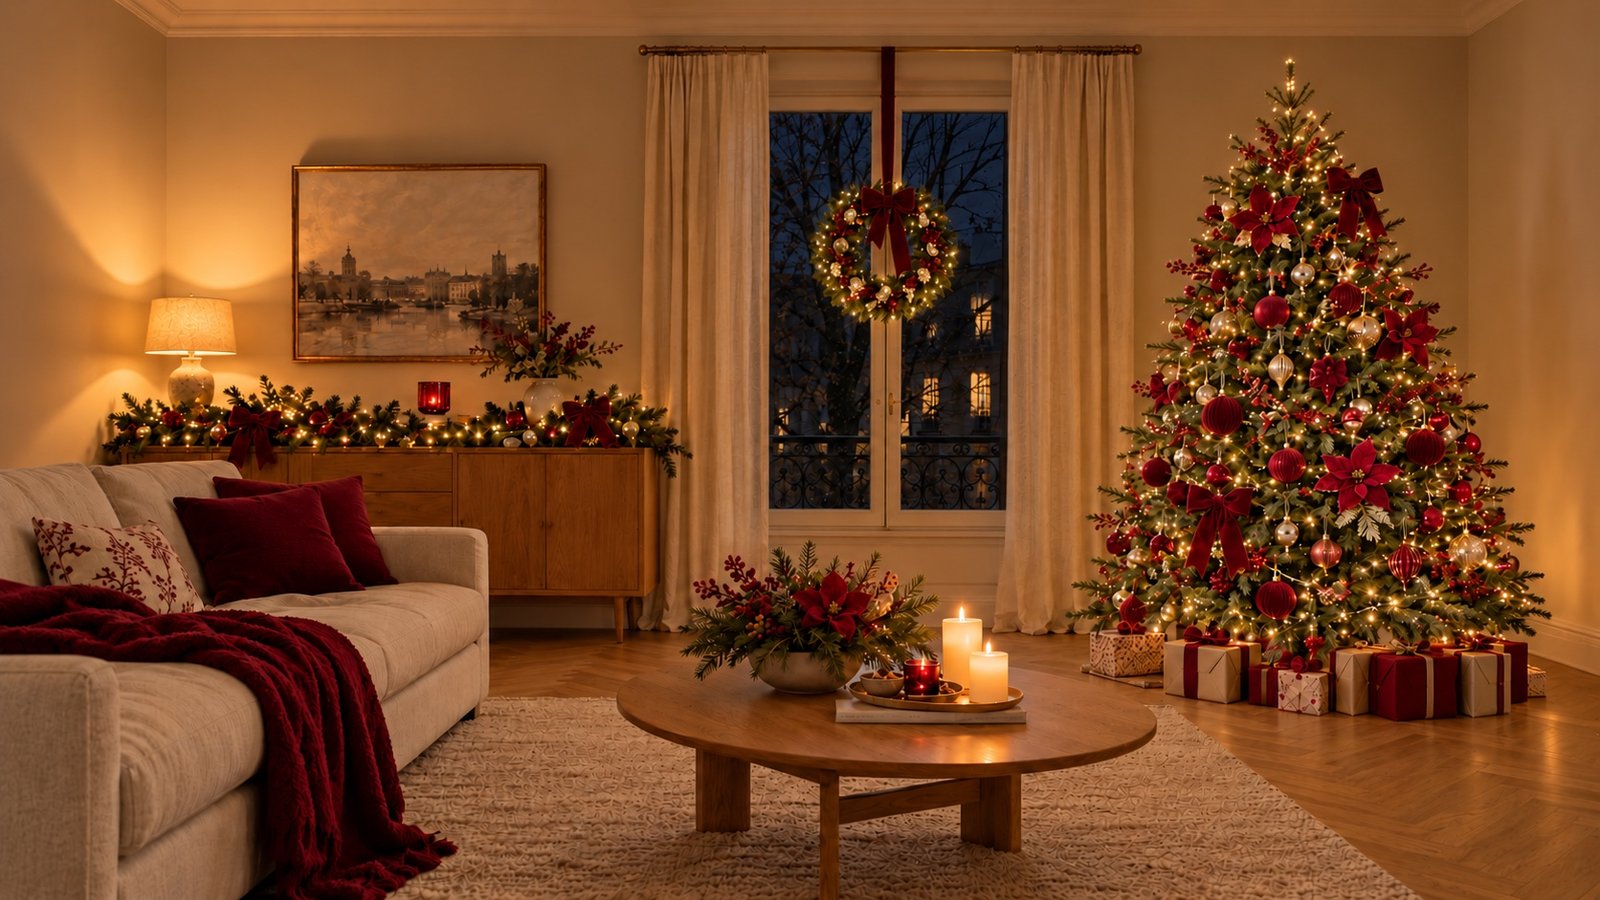
Christmas decorating trends 2026: 5 atmospheres and colors to bring magic into your home
Retrouvez les palettes et les sélections de décorations pour les cinq ambiances.
Read the article →
Twinkly lights: my review and Christmas tree tip
Découvrez la pose des guirlandes et les réglages des effets lumineux.
Read the article →
The 10 most beautiful artificial Christmas trees on Amazon in 2026 🎄
Comparez les silhouettes, les dimensions et les modèles de la sélection.
Read the article →